DIY Frames and Watercolors
“These walls are just so bare.” Have those words ever crossed your lips? It’s happened to all of us at least once. So, now what? Maybe you’re broke; maybe you’re on a budget. Either way, you don’t want to spend a lot of money on walls. Luckily for you, there’s a cheap fix for your predicament that costs less than $10, and it even allows you to paint your personality all over your barren wall—literally.
So let’s work through this:
Step 1: Determine the amount of surface area that you’re going to want to cover. Are you going to space your frames far apart or close together? Do you want a grid-based, or more free-floating look? Try checking around on platforms such as houzz.com, Pinterest, and Google for inspiration. Once you’ve decided your desired look, ask yourself: About how many frames will this design need? Once you have in 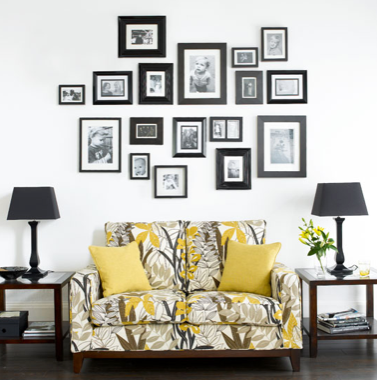 mind the style of frame that you want and approximately how many you’ll need, you’re ready to get thrifting.
Step 2: Find your nearest local thrift store. If you’re near us, that’s going to be Deseret Industries (DI). Elsewhere, it will range from Salvation Army to Goodwill to your aunt Suzy’s backroom thrift. These places generally sell used frames for anywhere from $0.50 to $2.00. That’s not bad at all, considering your best bet for a brand

new frame is usually around $5 at the cheapest. Neutral colors are usually the easiest to find and require the least effort, but remember that it’s easy to spray paint the frames if you’ve decided that fire engine red is what your living room needs. Be creative! Do you want an eclectic mirror hanging in the middle? Go for it. You’ve been drawn more toward the grid system? Stick with frames generally the same size, but bear in mind that exactly matching frames will be difficult to find in a thrift store.
Step 3: Stop by your local crafting store (think Michaels) and grab:
-
- Watercolor paper
- Basic watercolor paints and brushes (these can even be the cheapie sets for kids—we don’t need to be pro’s here)
- Lots of Command hooks (if you don’t want to drill many, many holes into your walls)
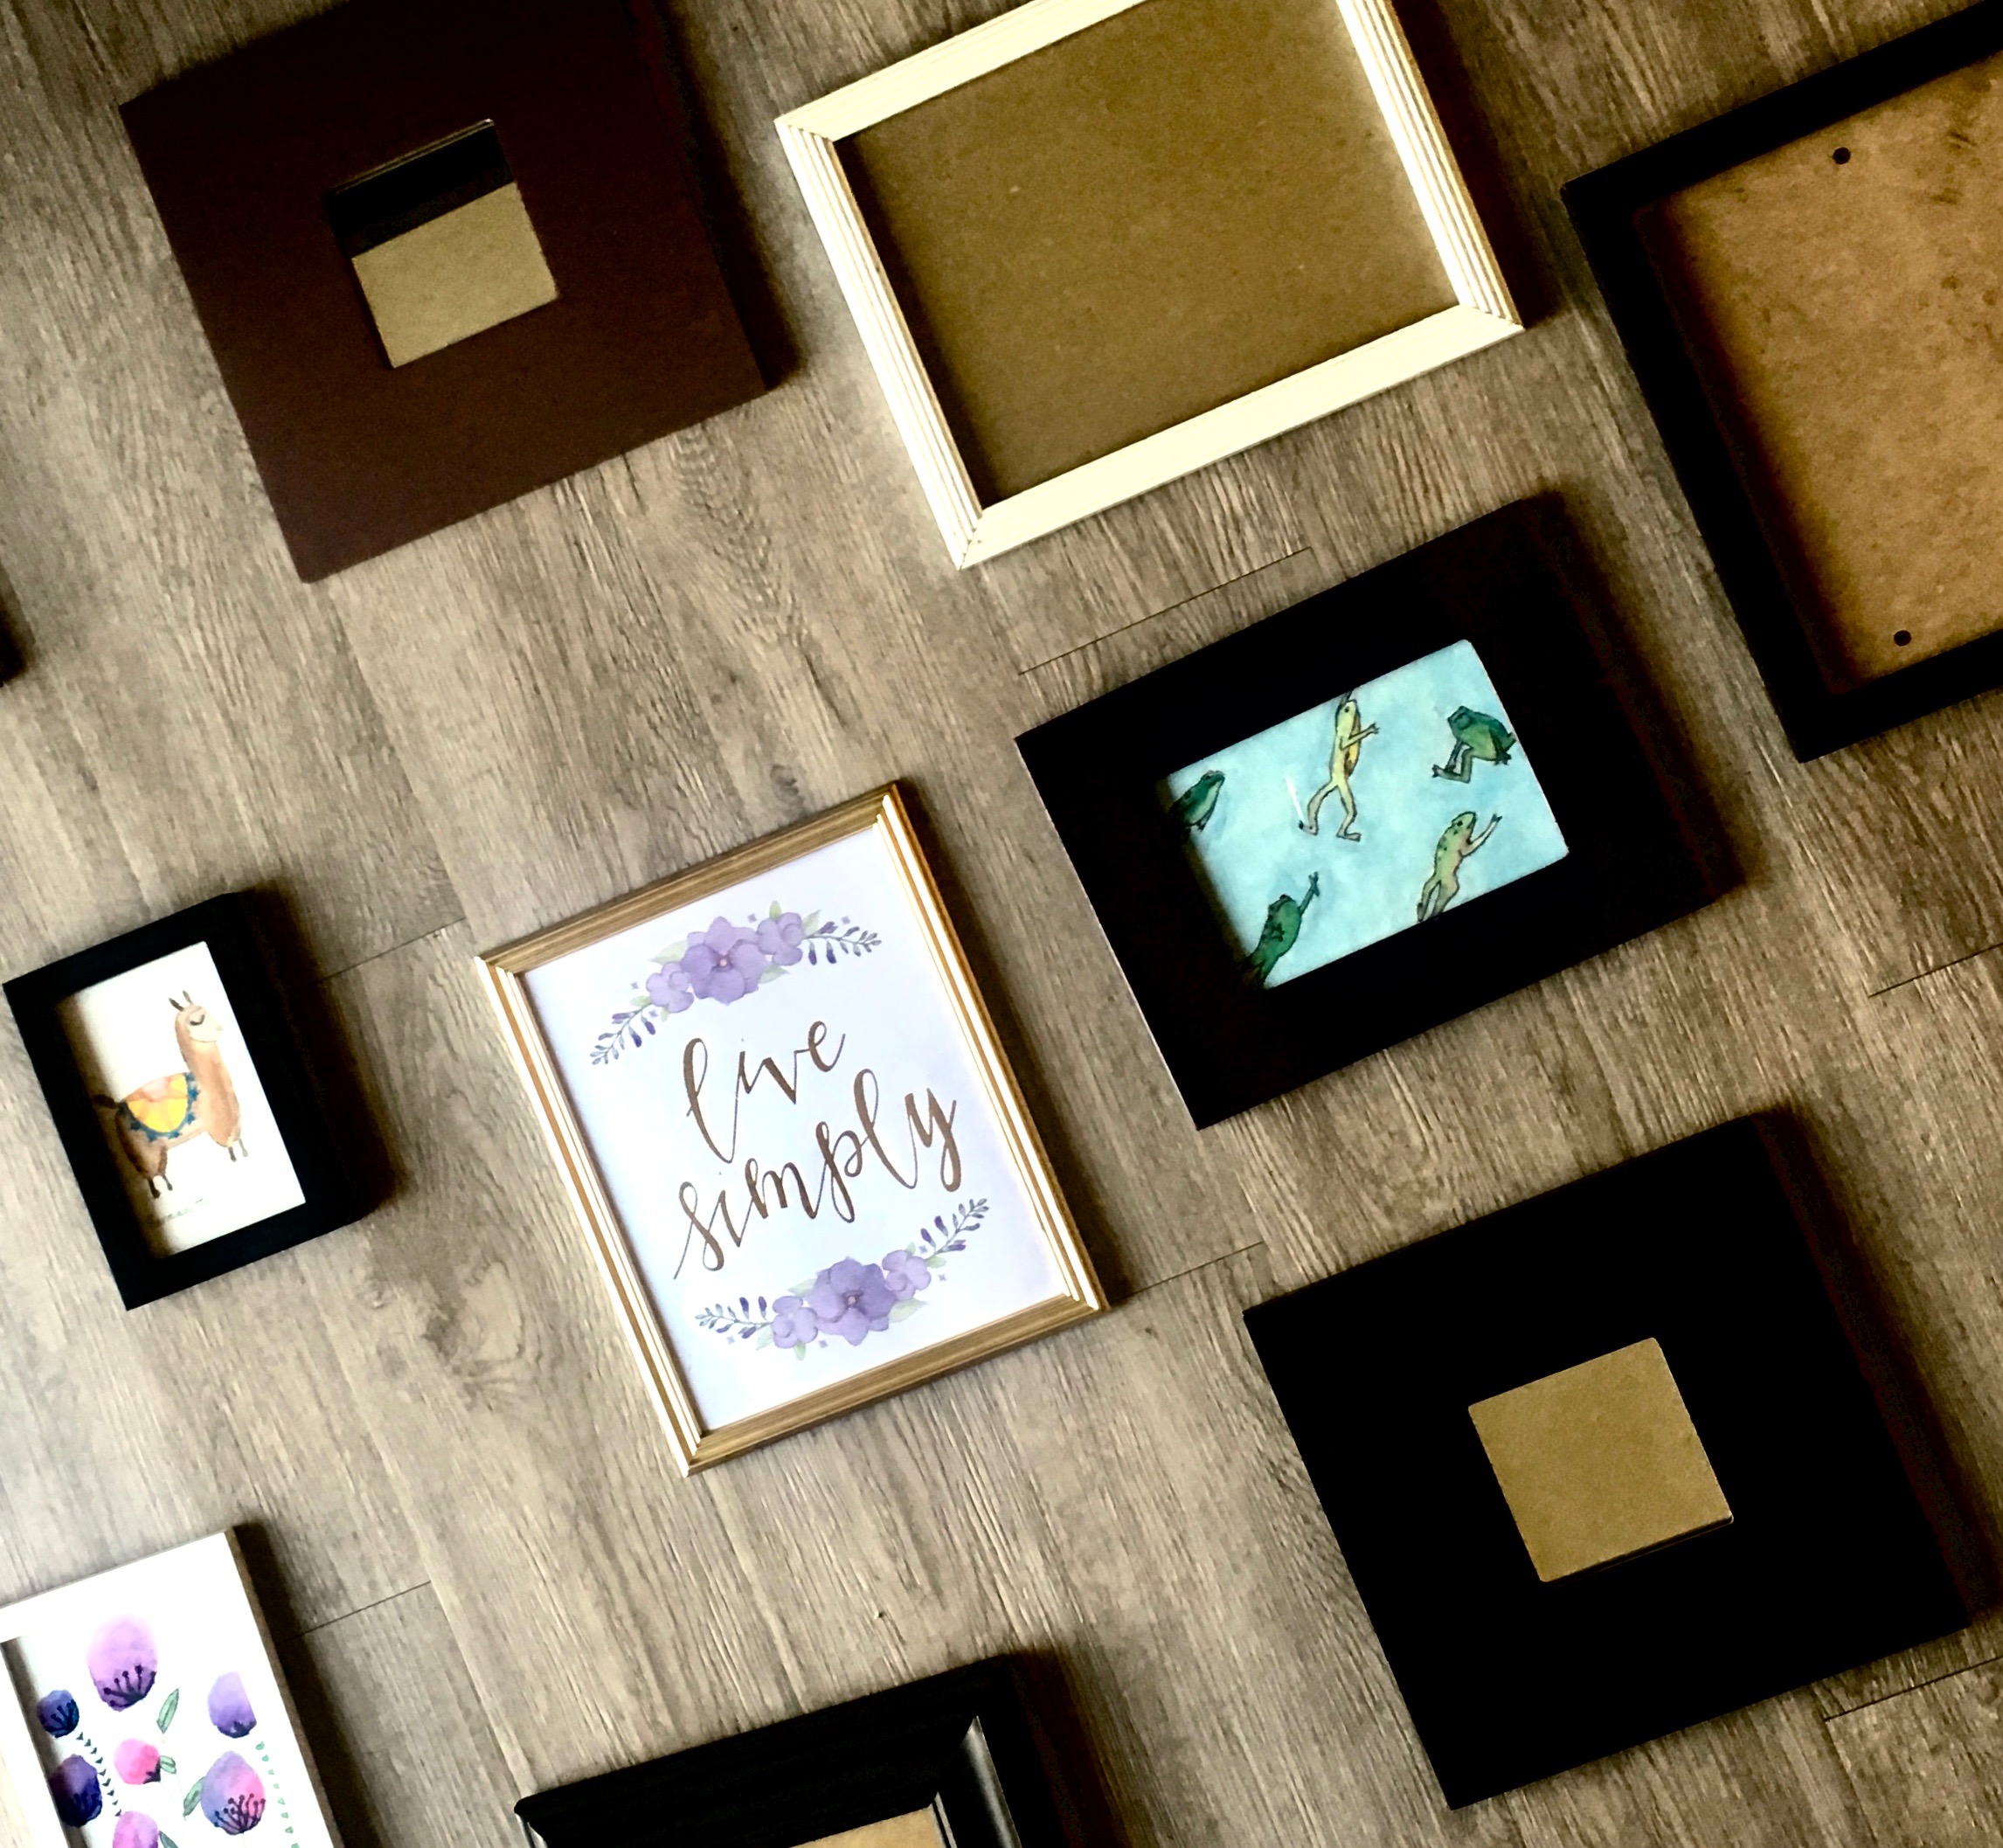
Step 4: Lay out your frames. It’s important to do this BEFORE painting so that you know how to orient your future works of art—cute quotes just don’t look as good sideways, and you’d be surprised how flipping a frame from horizontal to vertical can ruin the vibes of your perfectly planned wall collage.
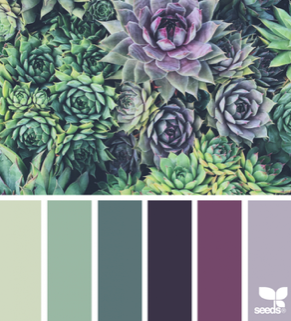
Step 5: Now’s the fun part. Grab your kids, spouse, roommates, even your dog. You’ll want to set your table with a few cups of water to clean your paintbrushes and paper towels for dabbing the brushes dry. It’s time to paint! But… what to paint? If creative juices don’t seem to be running through your veins, try searching Pinterest for ideas of easy watercolors. You can even look for color swatches and try to make all of your watercolors adhere to a particular vibe.
Step 6: After your masterpieces have dried, put them into the frames that you’ve laid out (I laid mine out on our living room floor), then carefully transition everything to the wall. And there you are!
Step 7: Snap a picture and tag us on instagram at @stancebyu! We’d love to see how your projects turned out!
You must be logged in to post a comment.