Halloween Pinterest Reviews!
In preparation for Halloween, the Stance for the Family blog staffers decided to have a holiday review night! Each staffer selected one or two crafts or recipes that had caught their eye on Pinterest and brought their creations along to share at our review night! Here are our thoughts below—complete with recipes, pictures, and our evaluations on how well they actually stack up against what’s advertised on Pinterest! (Be prepared—we had at least one massive fail!) If you’re looking for some fun Halloween recipes to try, you are bound to find something that interests you!
All the recipes and crafts we reviewed can be found on Stance for the Family‘s Pinterest account: http://pinterest.com/stanceforthefam/
Pumpkin Dump Cake (by Danielle Cronquist) 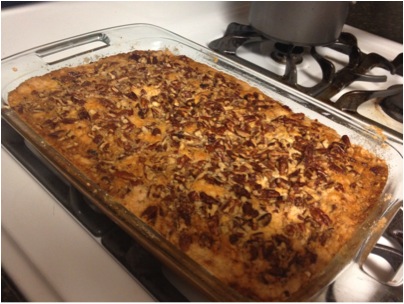
If you are like me and are a firm believer that all recipes made in October should include pumpkin, then this is perfect. A delicious fall blend of pumpkin, cinnamon, and nuts, the different textures and yummy flavors make this dessert stand out as a divine treat.
- 1 29-ounce can pure pumpkin
- 1 12-ounce can evaporated milk
- 3 eggs
- 1 cup sugar
- 1 teaspoon salt
- 3 teaspoons cinnamon
- 1 box yellow cake mix
- 1 cup chopped pecans
- ¾ cup melted margarine
Preheat oven to 350 degrees. Mix first six ingredients until well blended and pour batter into a 9×13 greased pan. Sprinkle cake mix on top and then cover with pecans. Pour melted margarine over top. Bake 50 minutes. If desired, top with cool whip or real whipping cream.
I’m not a whipped cream fan (call me crazy), so I opted out of that part and still think that it tastes delicious, but it is a great addition for whipped cream lovers. Pull together this easy recipe for a fall party, a hang out with friends, or for an FHE treat. It is sure to be a hit.
Cake Mix Cookies (by Jaden Anderson)
Cake Mix Cookies are a quick and easy treat great for any time of the year. Did we mention they’re also super delicious? In a large bowl, mix together one package of cake mix (any flavor will do, but chocolate and Funfetti are our favorites), 2 eggs, and 1/3 cup of oil. Feel free to experiment with M&Ms, ROLOs, chocolate chips, or raisins. Preheat the oven to 350°F while spooning out teaspoon size balls of dough onto an ungreased cookie sheet. Once the oven is ready, pop the sheet in for about 7–10 minutes, depending on how soft and doughy you want your cookies. Let the cookies cool for a few minutes, and then spread on cream cheese frosting if desired. Have fun with it and add on sprinkles, candy, or anything else you like!
Here’s what we had to say about these little gems:
- “Love these! You could make them themed for different seasons depending on what you put on top. I love the soft texture.”
- “Cake cookies are always great. Super easy and super yummy.”
- “Delish! Could eat a whole lot of them. Love.”
- “These are so great because I don’t have to choose between cake and cookies. I can have both!”
Fall Pumpkin Dip (by Alissa Strong)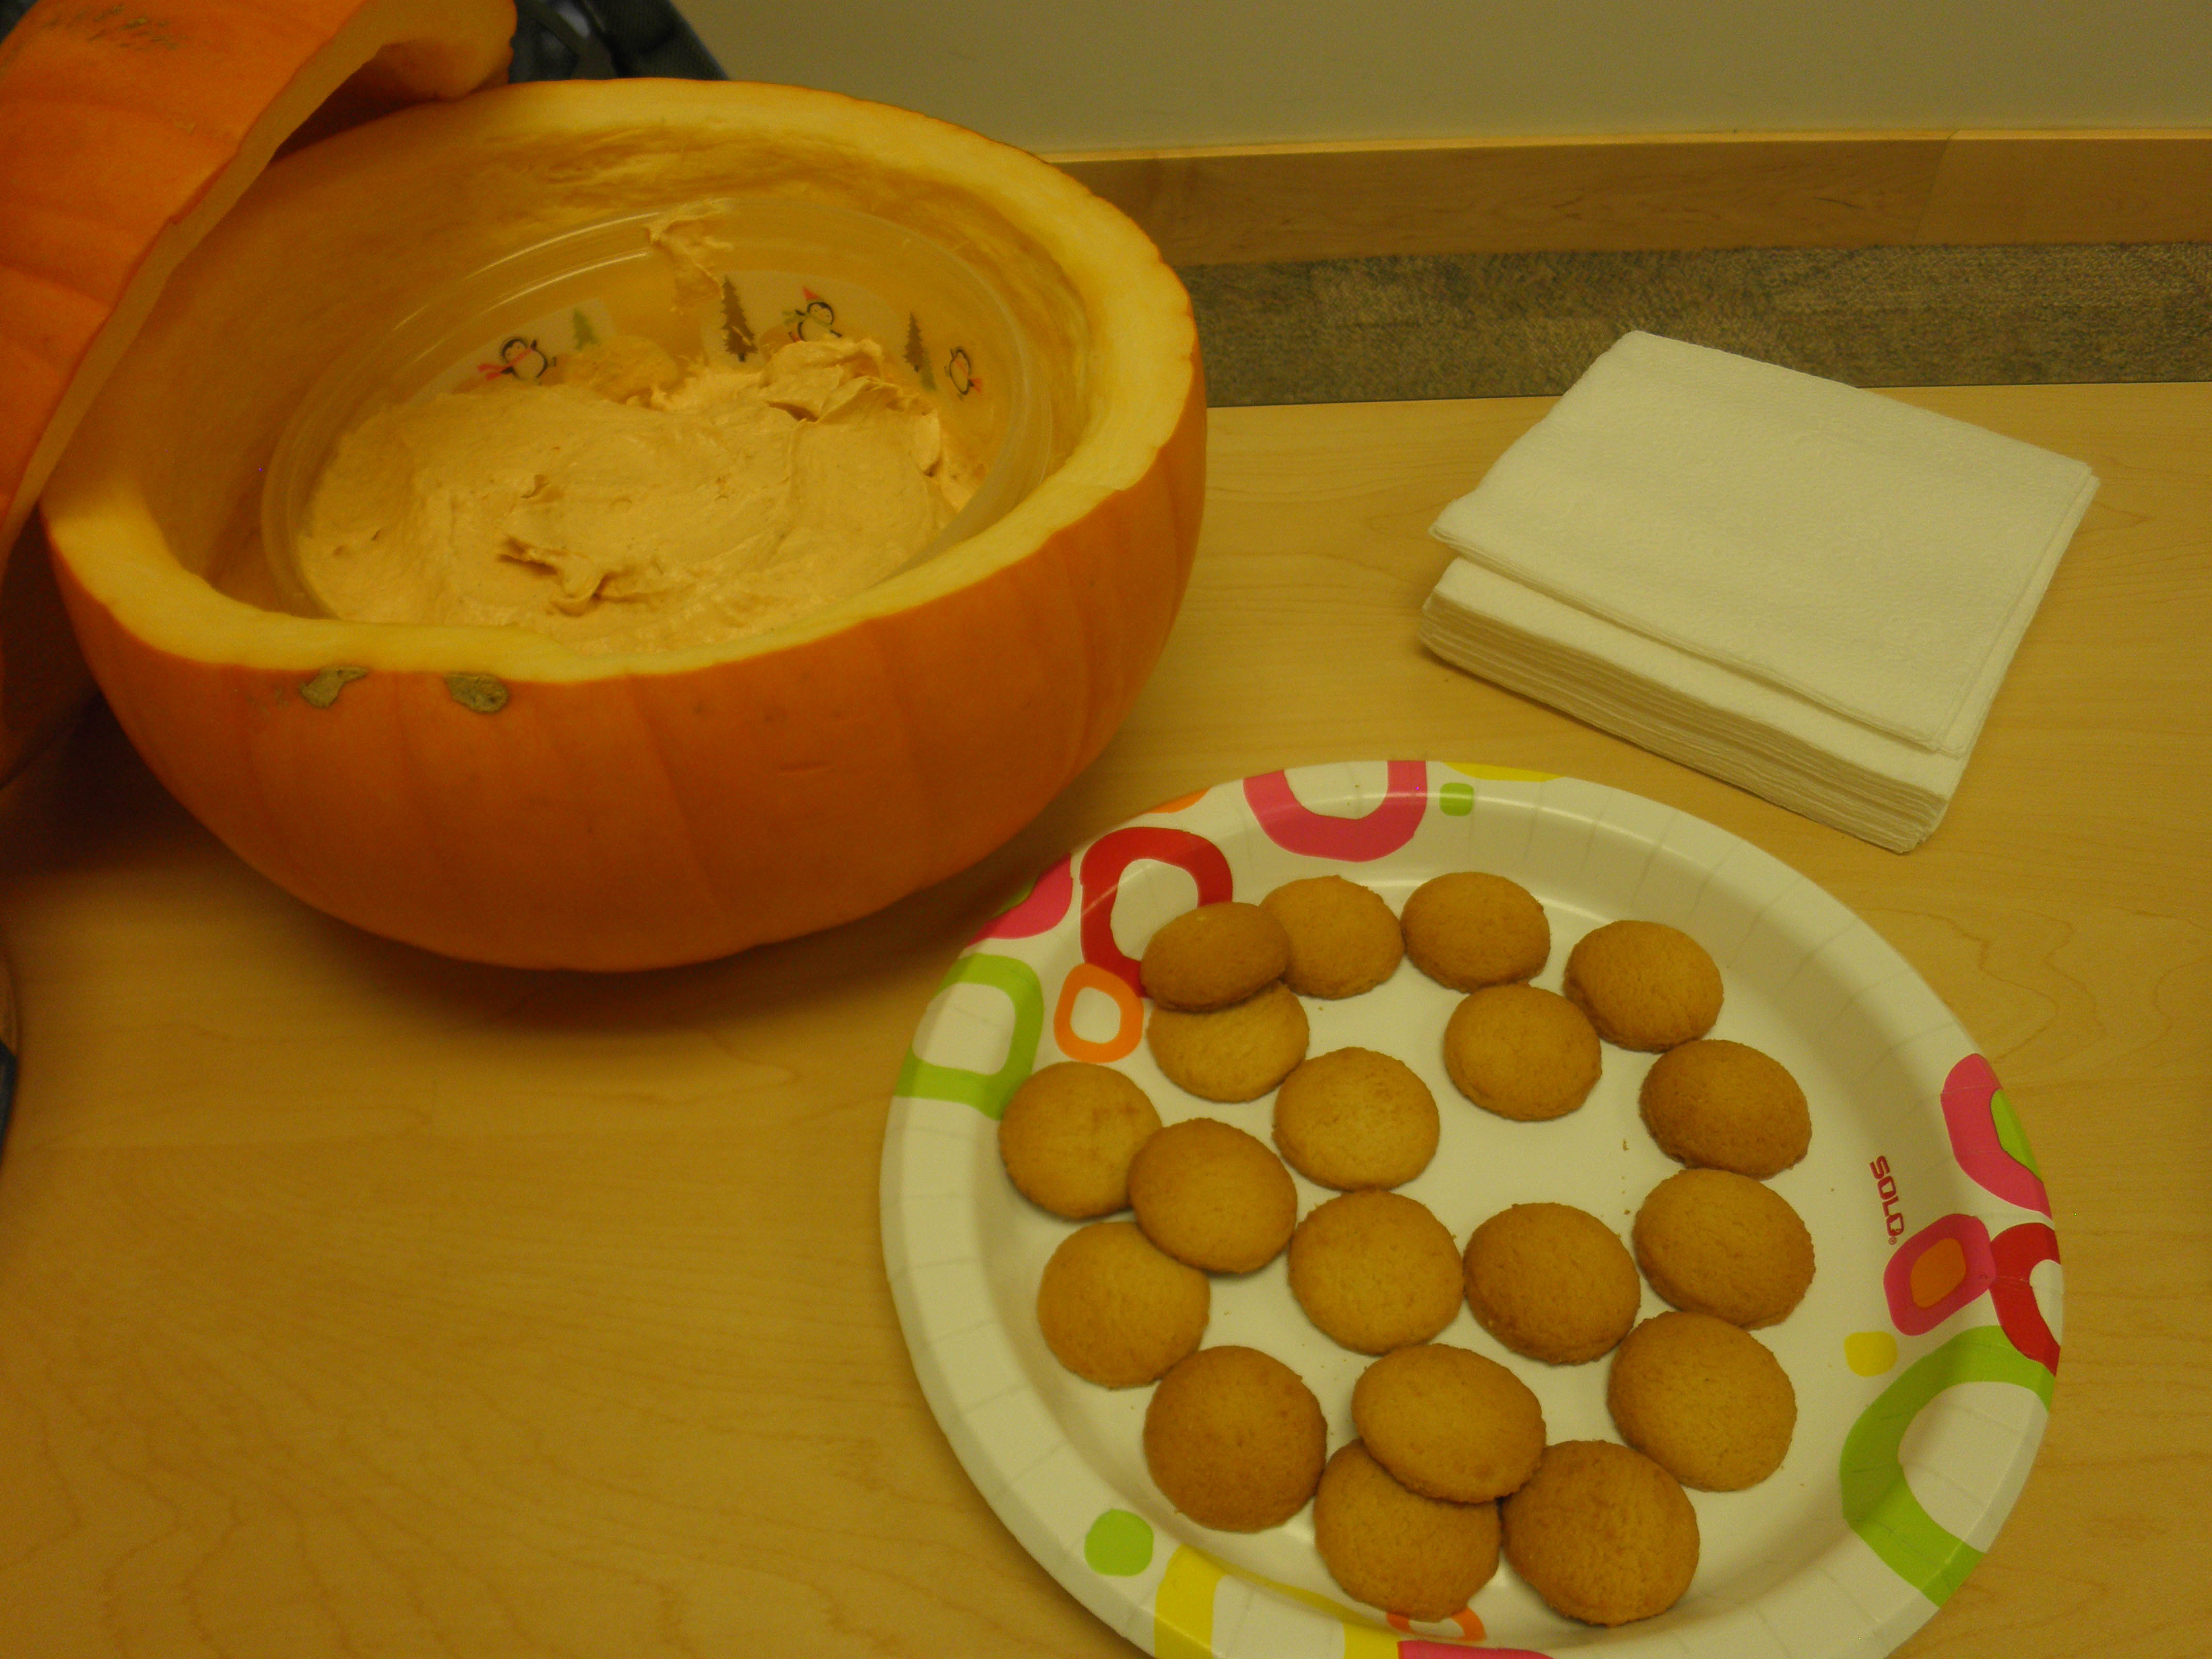
I wanted to try this recipe from the moment I saw it, simply because it was served in a pumpkin. What a great way to present food at a fall- or Halloween-themed party! This recipe is definitely a great addition to any fall table.
- 1 15oz can of pumpkin
- 1 5oz box of instant vanilla pudding (just the powder, don’t make the pudding)
- 1 16oz container of cool whip (low fat)
- 1 small pumpkin
- ½ tbspn pumpkin pie spice
- ½ tbspn cinnamon
Mix the pumpkin, pudding mix, cool whip, and pumpkin pie spice together (by hand) in a very large bowl. Chill for several hours before serving. Meanwhile, carve your pumpkin! Spoon the dip into the pumpkin, sprinkle with cinnamon, and serve with fresh apple slices, vanilla wafers, or ginger snaps.
This recipe was easy and quick to make—definitely an activity you could get the kids to help with. My biggest downfall was choosing a medium-sized pumpkin instead of a small one. The dip didn’t even fill the pumpkin halfway! So I ended up serving the dip in a bowl inside the pumpkin, which was nowhere near as pretty a presentation as I’d intended. But as for the taste… well, here’s what the reviewers had to say:
- “Delicious. Would be great for a fall party.”
- “Surprisingly sweet, but not too sweet. Seems simple to make.”
- “LOVED IT!”
Candy Corn Pizza (by Alissa Strong)
I knew a lot of people would be making desserts, so I wanted to try a main course recipe. One recipe I’ve been eyeing for awhile is this recipe for candy corn pizza! Don’t be deceived—it’s not sweet at all, although it still looks delicious!
- 1 can (13.8 oz) Pillsbury® refrigerated classic pizza crust or your favorite homemade dough
- 1/2 cup shredded mozzarella cheese
- 2 cups (8 ounces) shredded cheddar cheese, divided
- 1/2 cup pizza sauce
Preheat oven to 350 degrees. Spray a pizza pan with cooking spray and press pizza dough into the pan evenly. Sprinkle mozzarella cheese into a four-inch circle in the center of the pizza dough (the “white tip” of your candy corn!). Take 1 cup of shredded cheese and sprinkle it into a three-inch ring around the circle of mozzarella. Carefully spoon the pizza sauce over the ring of cheddar cheese (this will be your “red” layer). Sprinkle the remaining 1 cup of cheddar cheese in a ring around the outside of the pizza sauce ring (the “orange” layer). Bake for 12–15 minutes or until golden brown. Cut into slices to resemble candy corn.
This is another easy recipe—our reviewers all agreed that it would be great to make with the whole family. Kids can help sprinkle the cheese and sauce, and they will love eating pizza that looks like candy corn! One variation parents might like to try is doing mini-pizza versions of this recipe, so that it makes more “slices of corn” and more people can enjoy it!
Strawberry Ghosts (by Alissa Strong)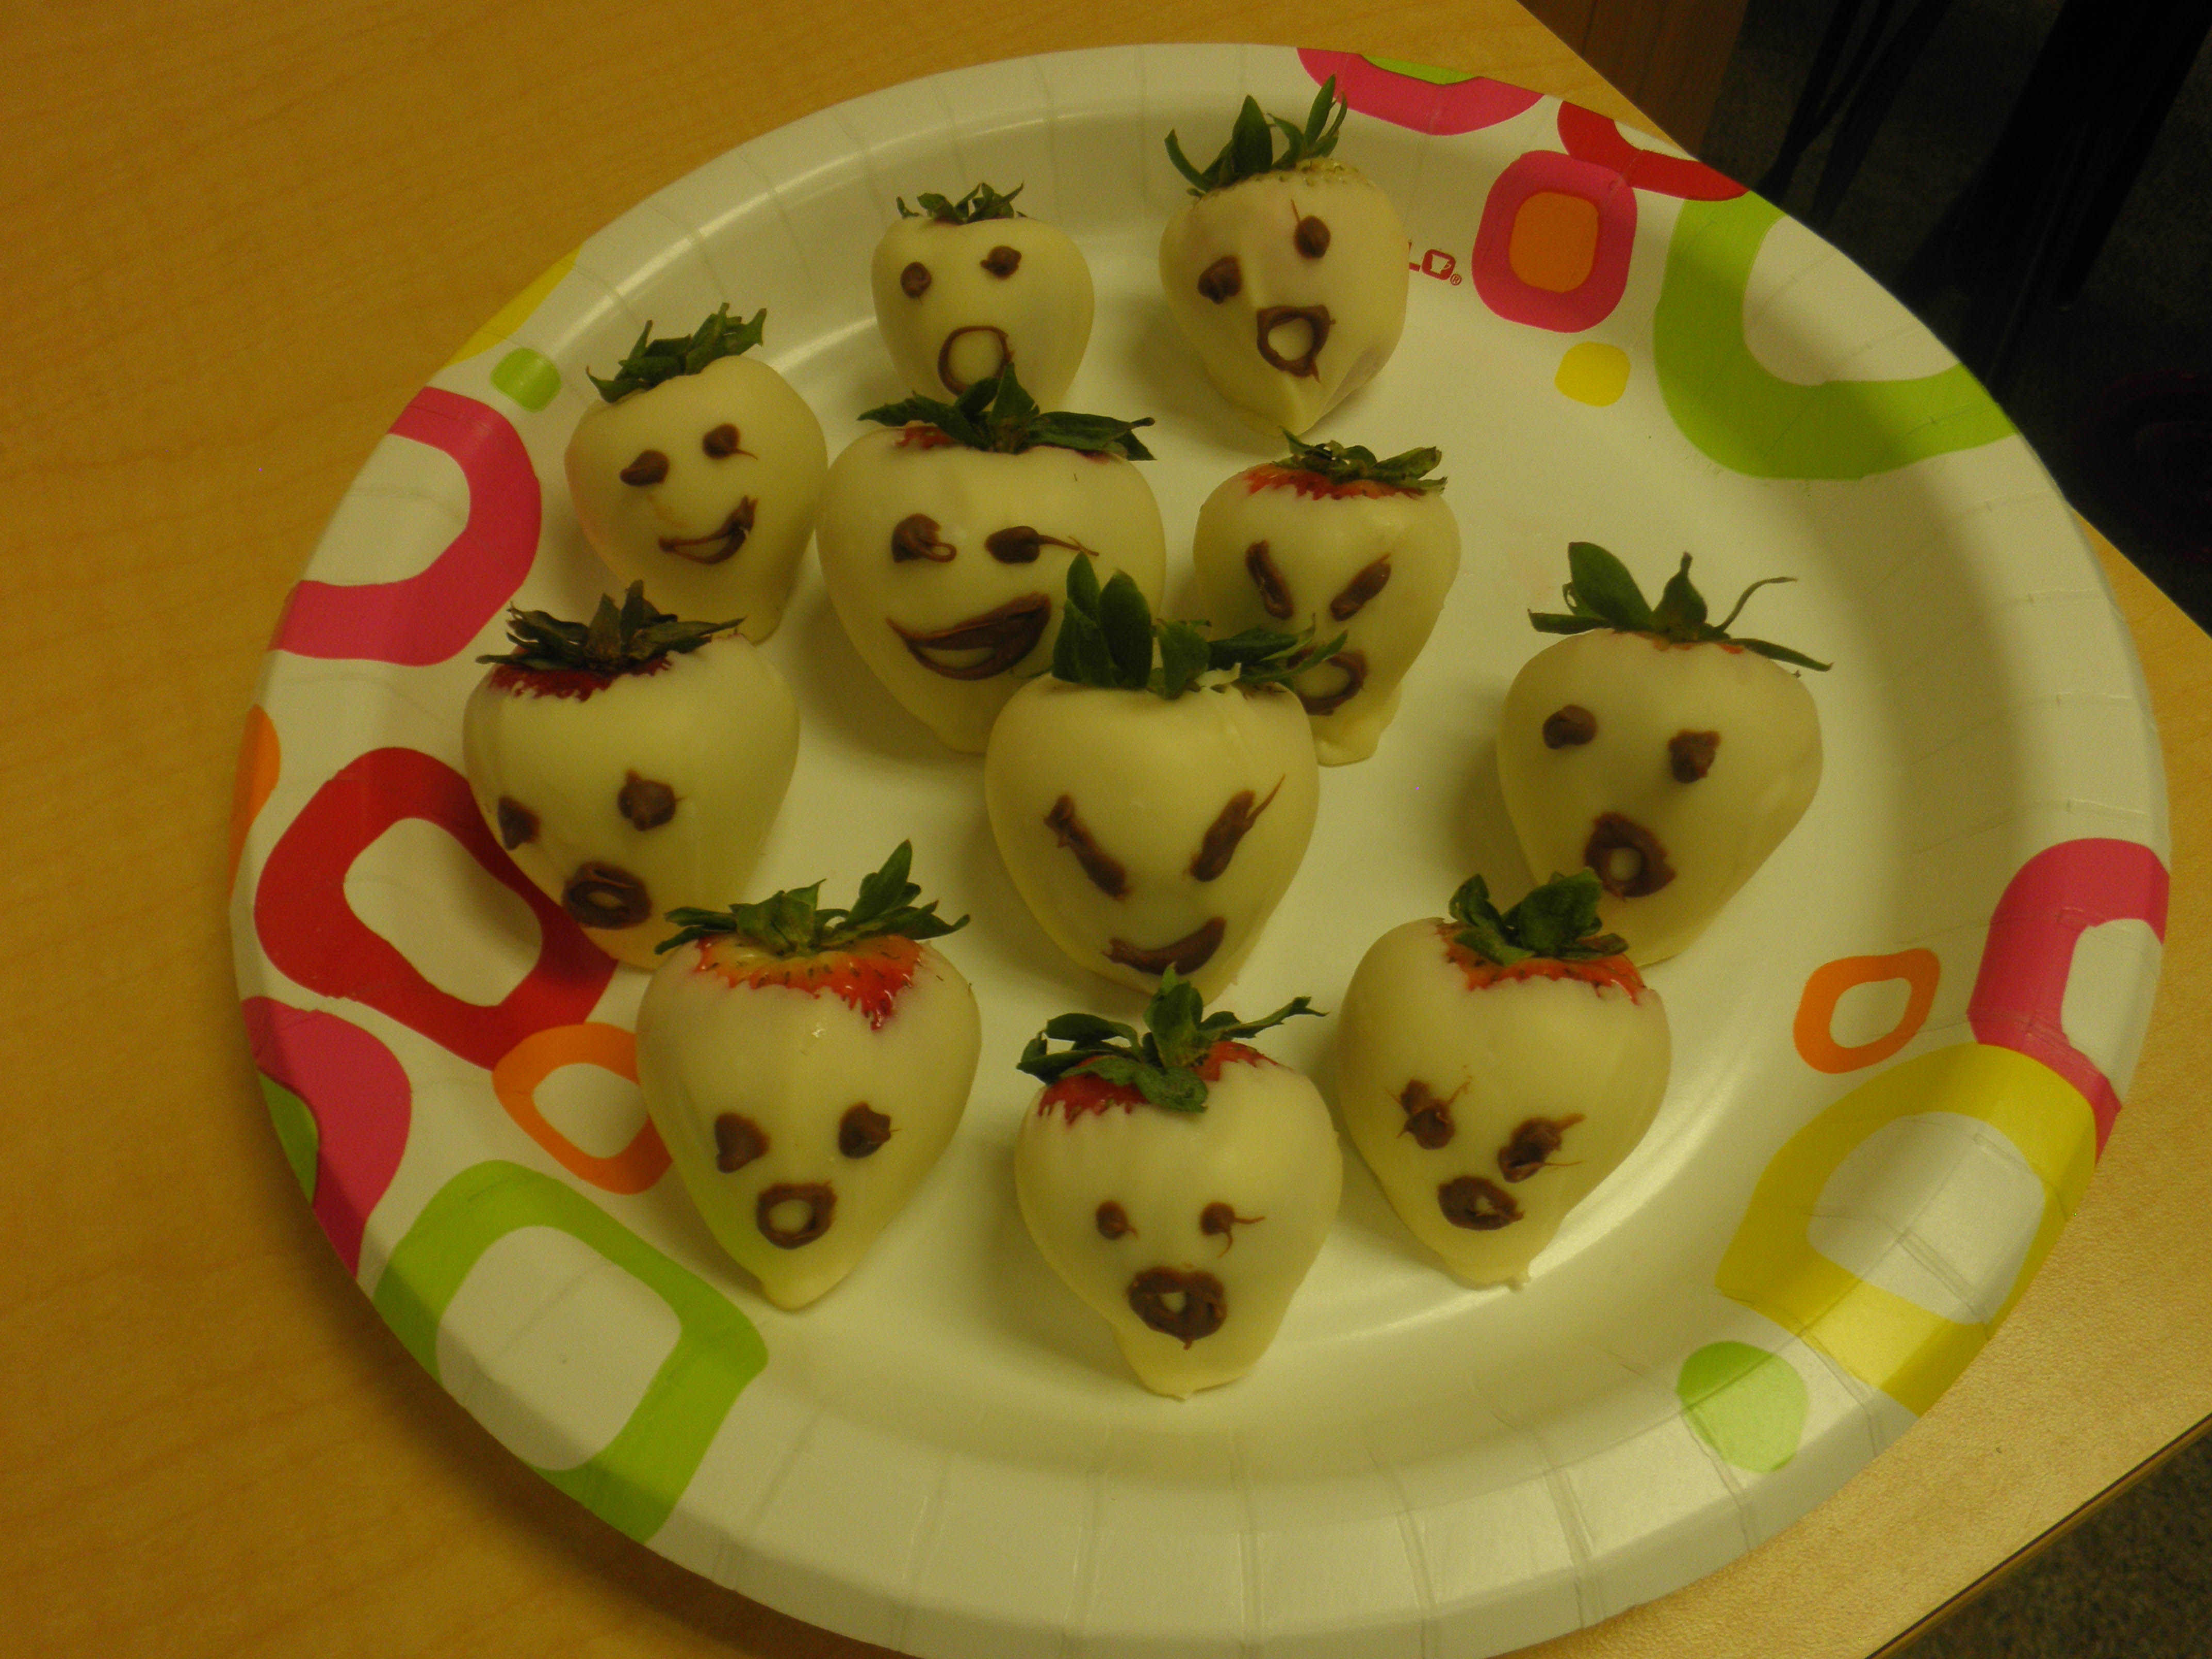
- 30 fresh strawberries
- 8 ounces white baking chocolate, chopped
- 1 teaspoon shortening
- 1/8 teaspoon almond extract
- 1/4 cup miniature semisweet chocolate chips
Wash and dry strawberries. In a microwave-safe bowl, melt white chocolate and shortening; stir until smooth. Stir in almond extract. Dip each strawberry in chocolate mixture; place on a waxed paper-lined baking sheet, allowing excess chocolate to form the ghosts’ tails. Immediately press chocolate chips into coating for eyes. Freeze for five minutes. In a microwave-safe bowl, melt remaining chocolate chips; stir until smooth. Dip a toothpick into melted chocolate and draw a mouth on each face.
I am a college student on a budget, so I modified this recipe slightly by eliminating the almond extract. The recipe worked just fine without it. (Seriously, Pinterest? You want me to buy a whole bottle of almond extract just to use 1/8 of a teaspoon? Not going to happen!) I had a lot of fun dipping the strawberries in the chocolate and making the “ghosts’ tails”—this recipe allows you to use the hull of the strawberry (the green leaves) for dipping, which is a lot easier than dipping cake balls or Oreo truffles.
It was after the chocolate dipping that my troubles started. The chocolate chips I had were way too big to use as eyes, especially for some of the smaller strawberries. So I just decided to draw the eyes on along with the mouths. The toothpick drawing took FOREVER! I’m definitely not an artist, so my ghosts’ faces looked far inferior to the ones in the Pinterest photos. But en masse, they actually looked presentable… and chocolate-covered strawberries always taste yummy! I’d probably put up with the longer preparation time for the festive end result.
Pumpkin Cream Cheese Bars (by Amanda Ricks; recipe from http://tjstestkitchen.blogspot.com)
Ever needed to make a quick dessert, but didn’t have many ingredients or much time? These Pumpkin Cream Cheese Bars may be perfect for you.
- 1 box angel food cake mix (the one-step kind)
- 1 15oz can pumpkin
- 3/4 cup water
- 1/2 teaspoon cinnamon
- 1 8oz pkg. reduced fat cream cheese
- A few tablespoons of water, to be mixed with cream cheese
I let the cream cheese soften on the counter for a while then I added it to my stand mixer & beat it with a couple of tablespoons of water until smooth. I just wanted it to thin out a little bit.
In a separate bowl, mix the cake mix, pumpkin, water, & cinnamon together until it is smooth & well mixed.
In a 9×13 pyrex dish—sprayed with PAM—add HALF of the cake-pumpkin mix. Then smooth it out with a rubber spatula. Drizzle half of the cream cheese over the top of it and take a small spatula to smooth it over the top. Add remaining cake-pumpkin mix & also the remaining cream cheese just making layers.
Finally take a butter knife, stick it into the mix, and go back & forth over the top of the cake making figure “8’s” – to blend it a bit.
Preparation of these was not too difficult. I didn’t have a stand mixer, so I used a whisk instead. I also didn’t have a Pyrex dish, so I used a different kind of 9×13 and it turned out just fine. This recipe requires only a few ingredients, which was good for my pocketbook. In addition, the ingredients of this dish aren’t those that you would naturally sneak before you had the time to make the dessert (like chocolate chips or toffee chips.) Relatively healthy as far as desserts go, they were easy and delicious. As one of our Stance reviewers said, “I liked that these were pumpkin-y without being too sweet. And let’s be real—cream cheese makes everything better!”
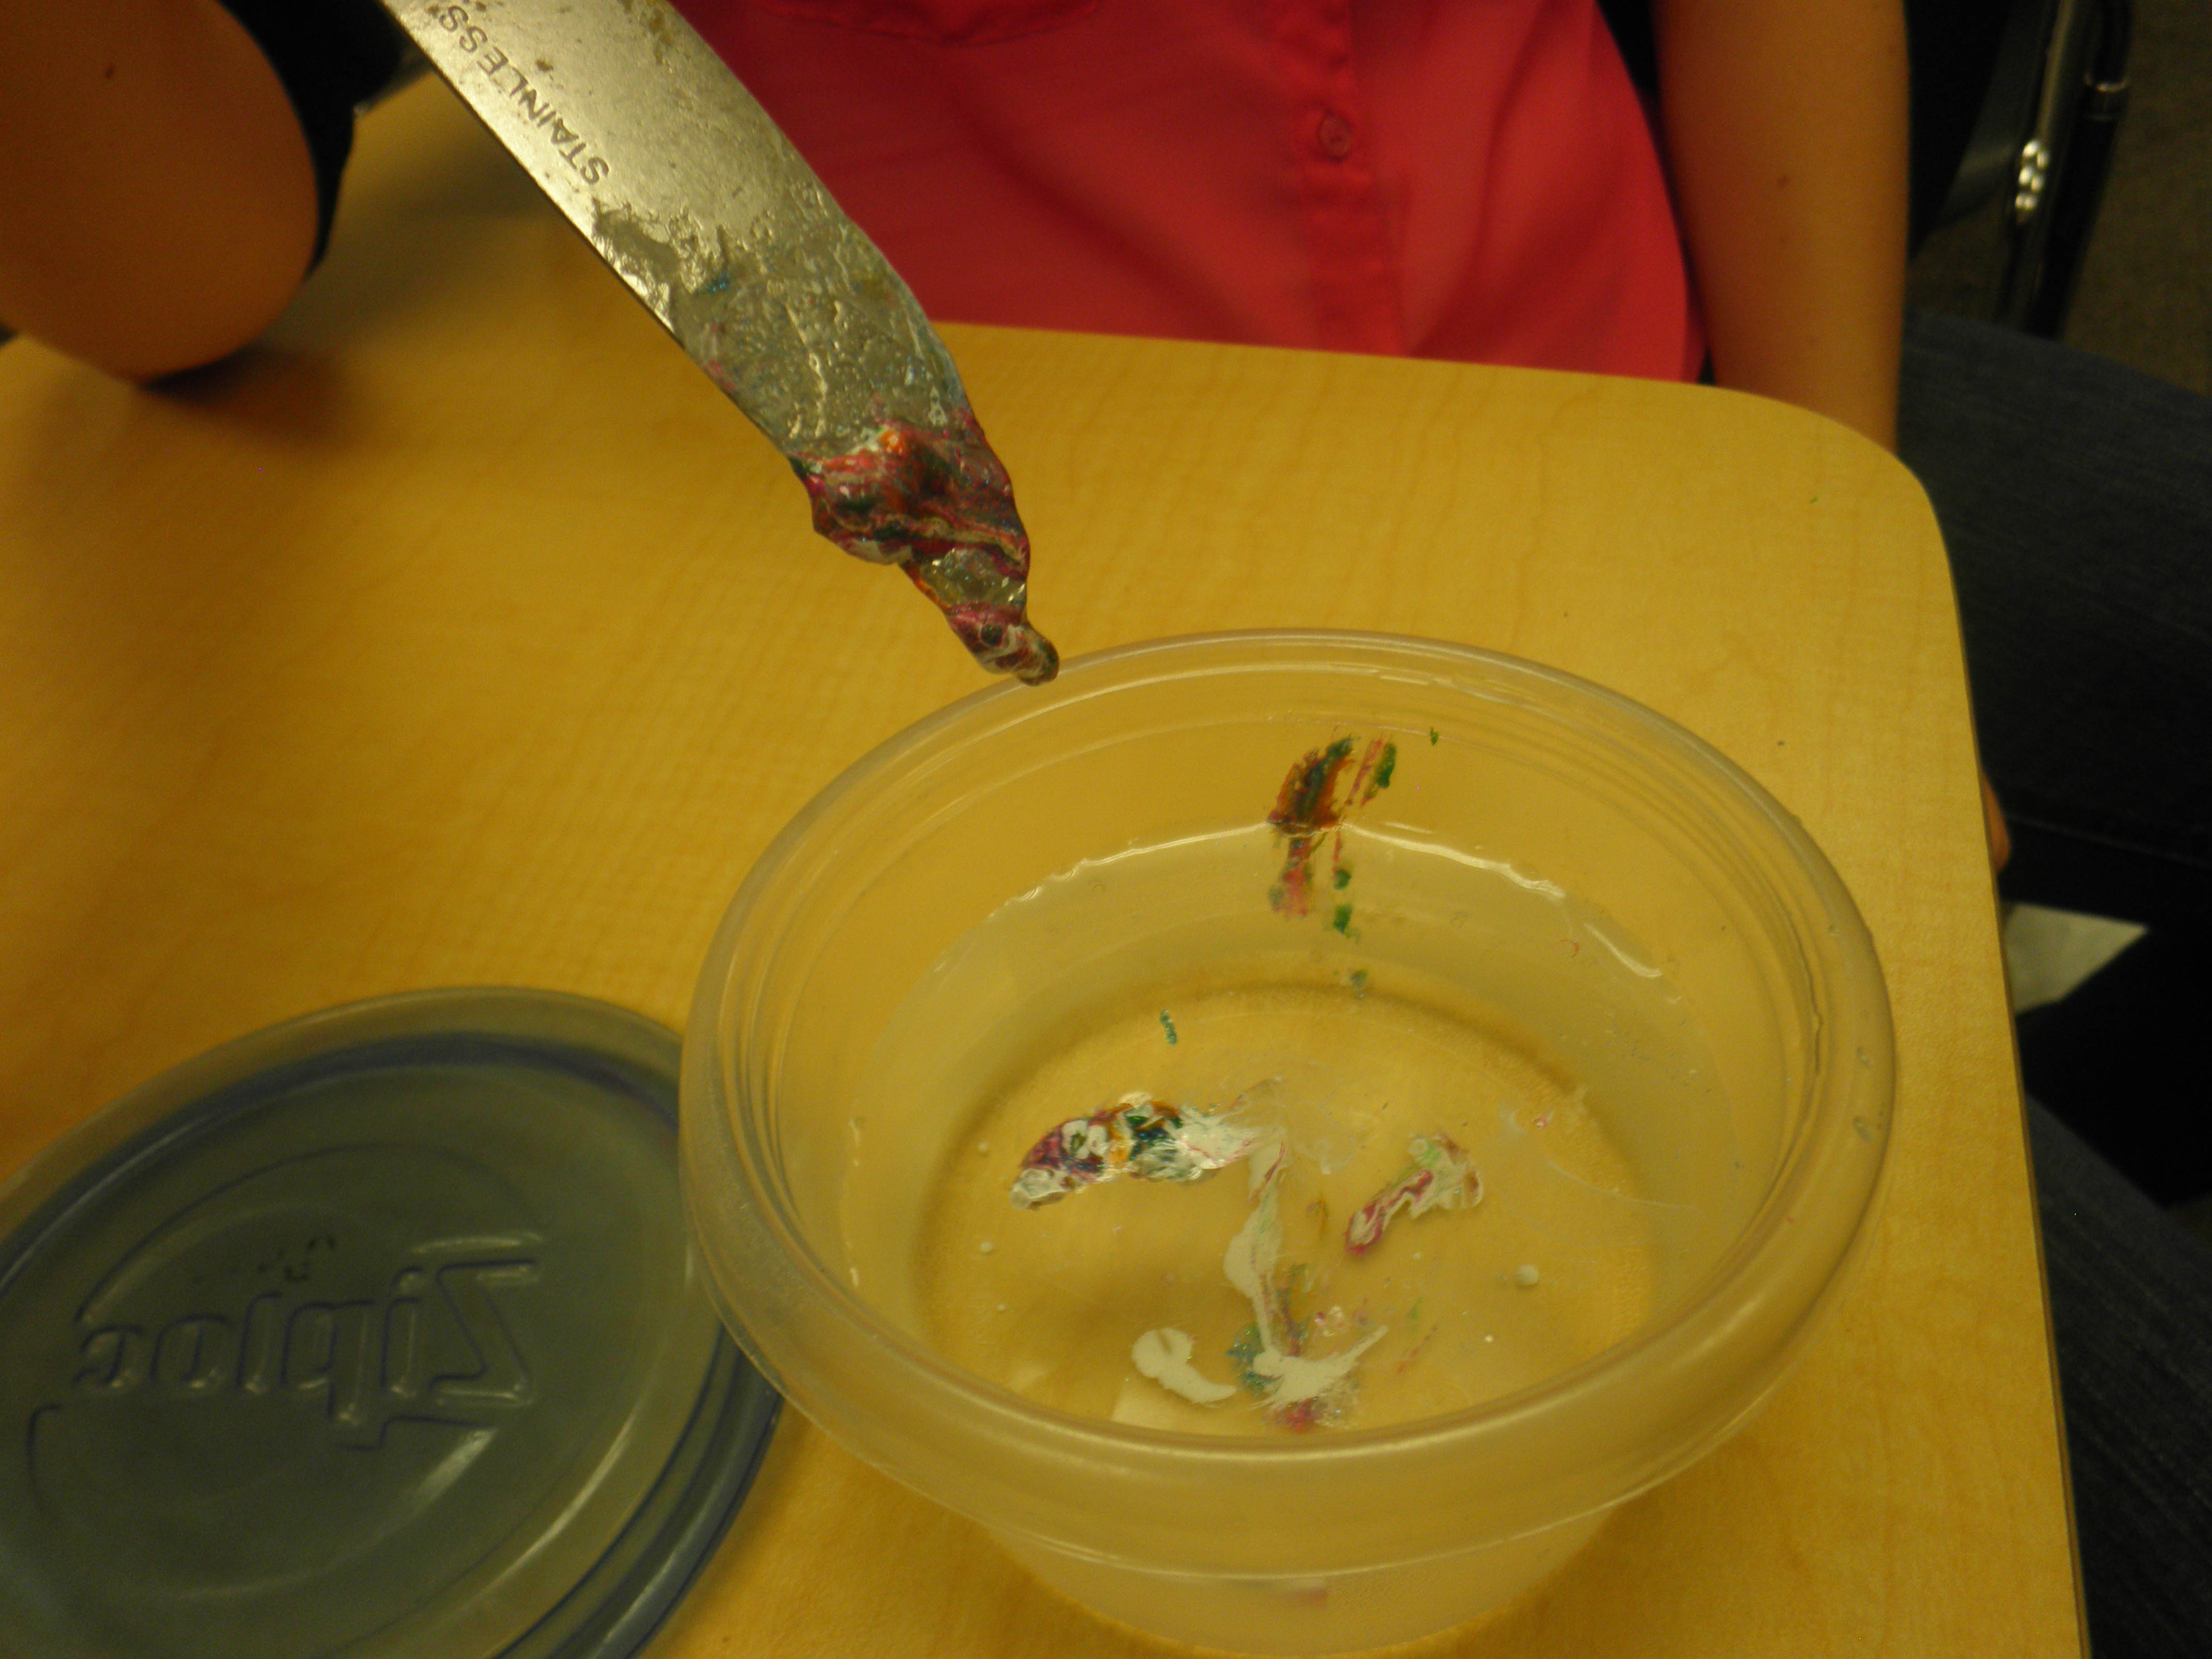
Marbled Nails (by Amanda Ricks)
Pinterest has long fascinated me with the concept of “Marbled Nails.” According to Pinterest, if you put some water in a bowl and add in your nail polish, swirl the polish, dip your finger in, and remove, you will have a perfectly marbled nail.
Perhaps I’m reading the instructions wrong.
I got the room temperature tap water that was required. I put in some fun colors and swirled it around. I dipped someone’s finger in. The moment I’d been anticipating had arrived, and the results? Well, let’s just say they were a little different than I’d imagined. See for yourself in the accompanying pictures.